System Requirements
Nexsure is a browser based application designed to run on Microsoft Internet Explorer®. The performance and experience you have with Nexsure is directly related to the bandwidth of your Internet connection, other traffic (loading) on that connection, the performance of your local area network, and the performance of the PC running Microsoft Internet Explorer. Please refer to the Microsoft Web site for specific hardware requirements of their products.
Requirement updates for each new version of Nexsure are noted in red text below.
Minimum System Requirements: Nexsure including Microsoft Office Integration
Operating System 1: Microsoft Windows® 2000 Professional SP4, Windows XP Professional SP1-SP3 (SP3 is recommended), Windows Vista™ SP1-SP2 (SP2 is recommended) or Windows 7, with Internet Explorer 6.0 SP1, 7.0 or 8.0 (usage of either Internet Explorer 7.0 or 8.0 is recommended 2).
Microsoft Office 2000 SR1a, Office XP SP3, Office 2003 (SP3 is recommended) or Office 2007 (SP3 is recommended). 3
Adobe® Reader®: Batch printing tasks require a minimum of Version 7.0. Version 6.0 could be used, but for individual tasks only. 4
Hardware: Personal Computer with 133MHz or higher Pentium-compatible CPU for Windows 2000; 233MHz or higher Pentium-compatible CPU for Windows XP Professional; 1GHz or higher 32-bit (x86) or 64-bit (x64) processor for Windows Vista or Windows 7.
Memory: As recommended by Microsoft. 256MB of RAM; 512MB/1GB minimum for Windows Vista, in accordance with the respective Vista edition deployed (32-bit vs. 64-bit version); 1GB/2GB minimum for Windows 7, in accordance with the respective Windows 7 edition deployed (32-bit vs. 64-bit version); plus an additional 8MB of RAM for each Microsoft Office application running simultaneously (more memory generally improves responsiveness).
Display: Super VGA (1024 x 768) or higher-resolution monitor with 256 colors.
Keyboard and Mouse required.
Best performance will be on systems with 512MB RAM or greater (2GB or higher for Windows Vista or Windows 7).
Minimum System Requirements: Nexsure without Microsoft Office Integration
Operating System 1: Windows 2000 Professional SP4, Windows XP Professional SP1-SP3 (SP3 is recommended), Windows Vista SP1-SP2 (SP2 is recommended) or Windows 7, with Internet Explorer 6.0 SP1, 7.0 or 8.0 (usage of either Internet Explorer 7.0 or 8.0 is recommended 2).
Adobe Reader: Same as above.
Hardware: Same as above.
Memory: Same as above.
Display: Same as above.
Keyboard and Mouse required.
Connectivity Requirements
A Business Class DSL, Cable or dedicated Internet Broadband connection is recommended. It is highly recommended that clients request synchronous download and upload speeds from their service provider. When calculating telecommunications bandwidth needs for their locations, XDimensional Technologies recommends that clients allocate a minimum of 64Kbps per user for Nexsure. Additional bandwidth should be considered if your Internet connection will be utilized for traffic from other applications, including such things as e-mail systems, carrier Internet sites, general Internet browsing and other usage (including file uploads/downloads).
Firewall Port Requirements (If a network firewall 5 is used to securely monitor Internet traffic)
Firewall ports 80 and 443 are required for usage by the Nexsure application. Port 80 is used for web access (HTTP), and port 443 is used for securely transferring web pages (HTTPS).
IMX (Instant Messaging XDimensional), which is the Instant Messaging functionality built into Nexsure, requires network traffic to flow through ports 2000 and 2001. Each workstation using IMX requires the installation of Java™ Virtual Machine for Internet Explorer. Java Virtual Machine is a free download from Sun Microsystems at http://www.java.com .
Microsoft Office Integration
Requires Microsoft Office 2000 SR1a, Microsoft Office XP SP3, Office 2003 (SP3 is recommended) or Office 2007 (SP3 is recommended). 3.
Email Client: Nexsure offers integration to Microsoft Outlook® (either Outlook 2000, Outlook 2002/XP, Outlook 2003 or Outlook 2007), which is available as a part of the Microsoft Office suite of products (Outlook 2000 is included as a part of the Office 2000 suite; Outlook 2002/XP is included as a part of the Office XP suite; Outlook 2003 is included as a part of the Office 2003 suite; Outlook 2007 is included as a part of the Office 2007 suite). Integration to Microsoft’s Outlook Express mail client is NOT supported. E-Mail Integration is independent of the type of mail server software you utilize (e.g. Microsoft Exchange), as integration is established with the Outlook mail client.
Printing
Postscript® Level 3 compliant printers and printer drivers are required.
MICR Check Printing
Designed using PrintTerm MICR 2300 (modified HP LaserJet 2300). All MICR printers require verification for production use.
Exchange Manager FTP
Nexsure includes a utility, the Nexsure Exchange Manager, which is used when the need exists to transfer ACORD AL3 or Microsoft Excel files via FTP from the local PC to the Nexsure server for processing. This process is performed for transfers done outside of the typical AL3 downloads that occur via IVANS. The Nexsure Exchange Manager is an ActiveX control that uses Passive FTP when transferring files to the Nexsure server. Traditionally, port 21 is used for the command port, and the server specifies the random port it wishes to use for the data port. For more information about the Exchange Manager FTP ports, please refer to the Nexsure Exchange Manager FTP document within Nexsure Help.
1 You should verify that your existing Hardware meets Microsoft Windows 2000 / XP Professional / Vista requirements. Also, remote desktop environments utilizing Internet-enabling services such as Microsoft Terminal Services or Citrix® MetaFrame® are not supported.
2 A minimum of Internet Explorer 7.0 is necessary to view Territory, Region, Branch, Department and Unit names that exceed the length allowed in a standard drop-down field within the accounting system. Without Internet Explorer 7.0 or 8.0, the names in these fields will be truncated if they exceed the character length of the standard field.
3 Office 2010 is not yet certified for use with Nexsure.
4 If you are upgrading from a prior version of the free Adobe Reader you must first uninstall the existing version before installing the new version.
5 A network firewall protects an internal computer network from unauthorized access from the outside. Network firewalls may be hardware devices, software programs, or a combination of the two. Many entry level network routers provided by broadband Cable and DSL service providers, or used for broadband Cable or DSL service, include firewall functionality, however, they may have very low end processing capabilities that could create a bottleneck on the flow of network traffic. Consideration should be given to implementing a business class firewall solution that would not impact performance. A local network consultant can provide you with viable recommendations for products to consider.
 icon.
icon.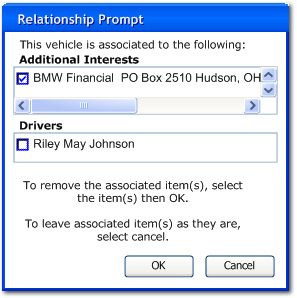
 icon or keying the date in using the
correct formatting. The selection will be added to the ACORD 90 Drivers section when Prefill / Lookup is used.
icon or keying the date in using the
correct formatting. The selection will be added to the ACORD 90 Drivers section when Prefill / Lookup is used.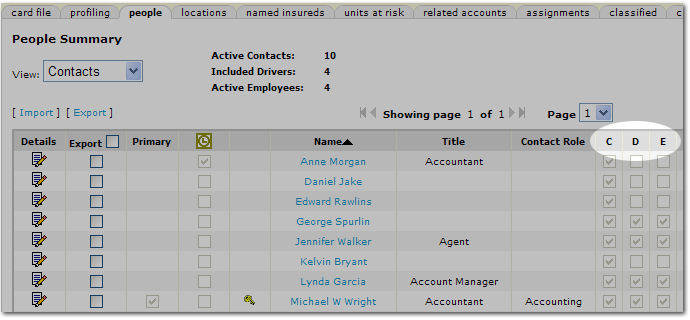
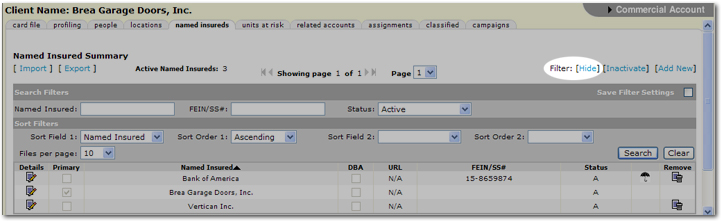
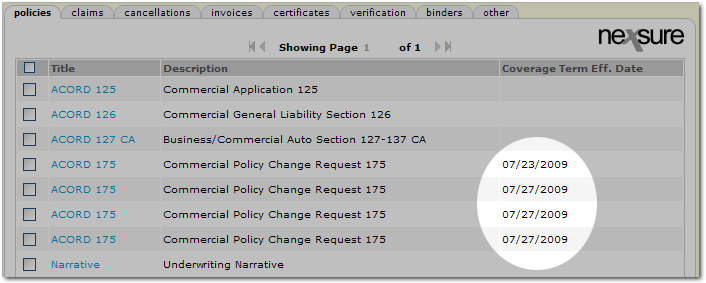
 arrow to open a list of all search results pages. Select the desired page number to open that page of search results. (F5693)